
A buyer approves a clean flat artwork, the factory prints it, and the first carton arrives with the motif sliced in half along the fold, a border that vanishes under the tabletop, and a centred logo hidden under the salad bowls. None of that is a printing fault. It is a layout fault: the design was drawn for a sheet of paper, not for a 54-inch film that is printed on a rotary flexographic press, cut into 54 x 108 inch covers and folded before it reaches a table.
Four layout decisions sit behind almost every reprint on a custom printed plastic tablecloth order: the repeat, the border, the panel and the print side.
1. The film sets the canvas before the design does
Our printed covers run on PEVA film 54 inches wide, cut at 108 inches. That is the printable frame, and every design decision has to live inside it. On a six foot banquet table the 108 inch direction becomes the length, so the ends hang about 18 inches and the sides about 12 inches; on a taller or longer table those numbers change, and so does what the design does at the edge.
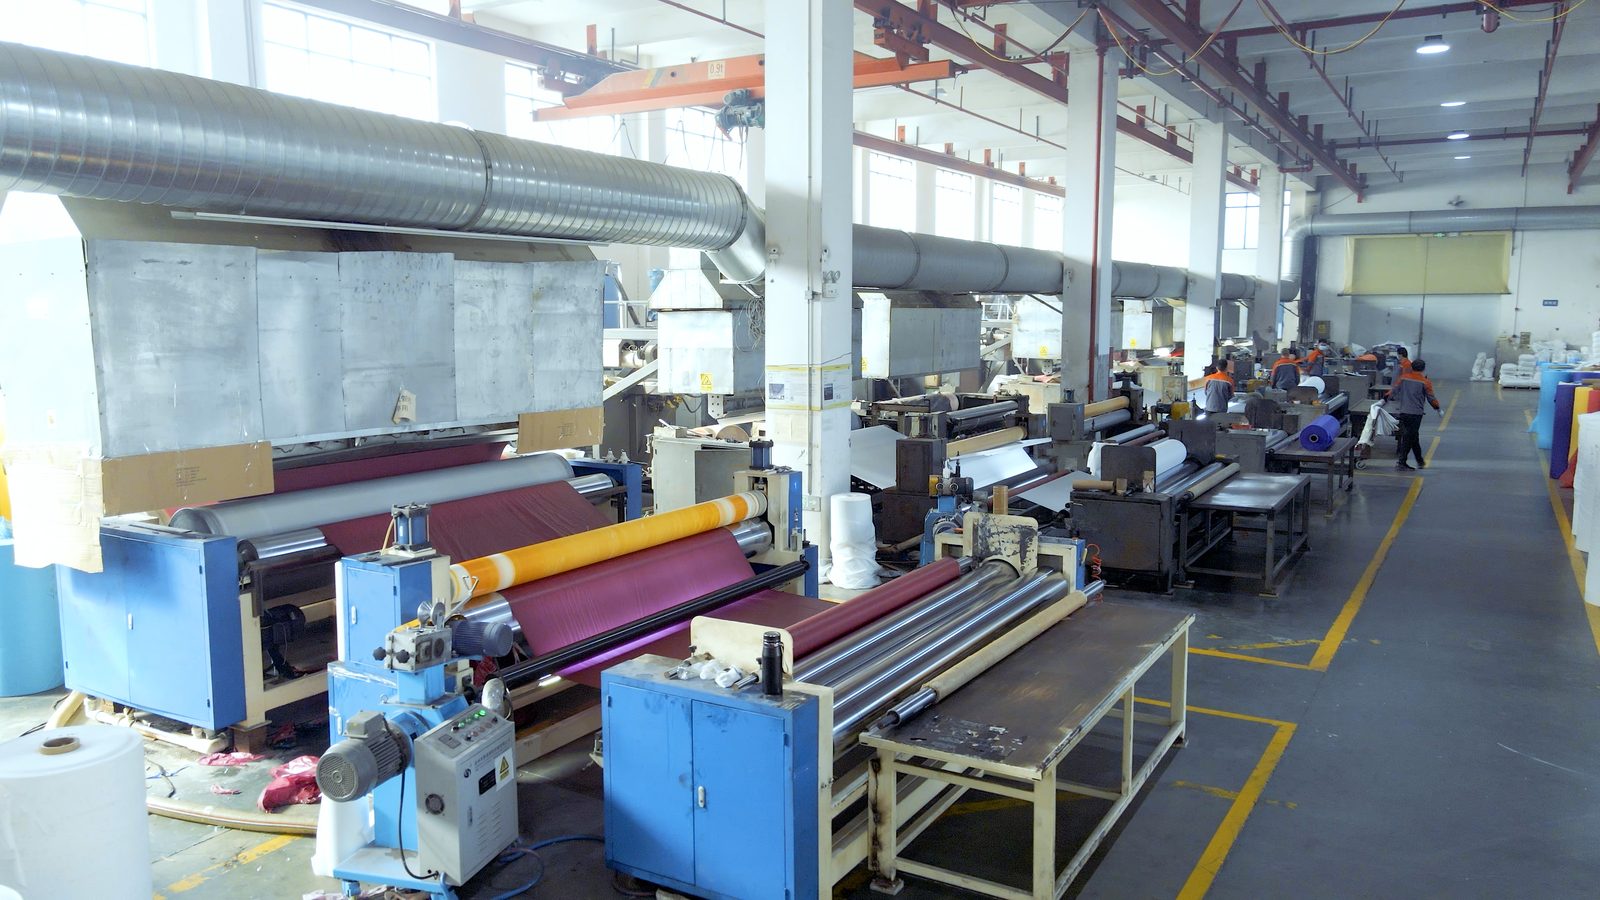
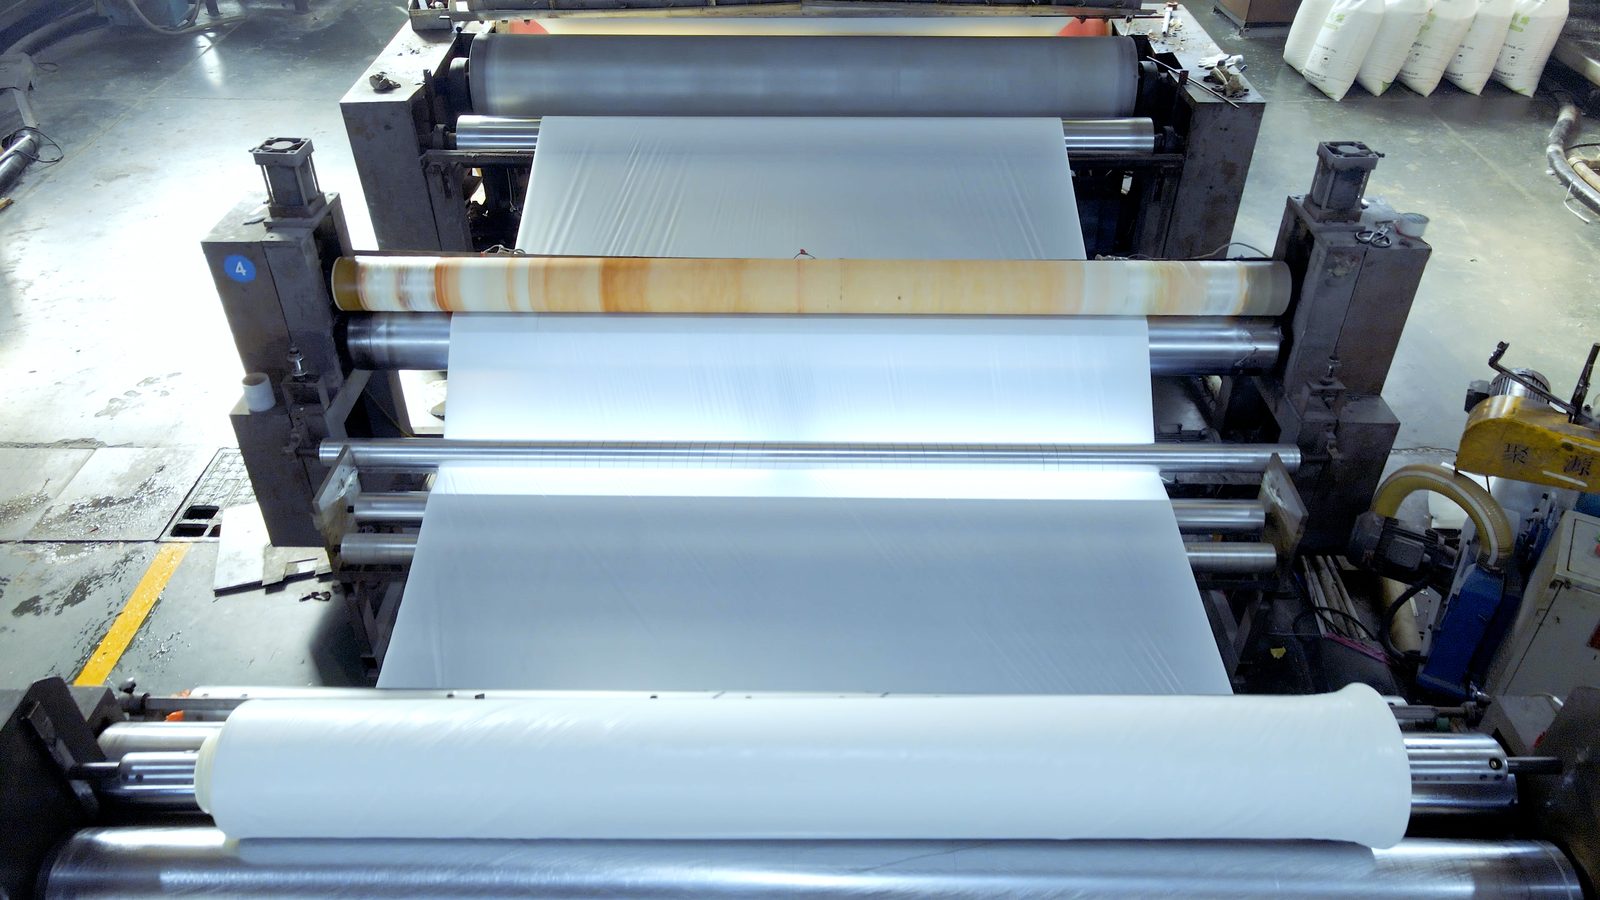
Two consequences follow. The film width is a hard limit, so a design that needs 60 inches across cannot be printed on 54 inch film without a join, and a join on a table cover sits at exactly the height where guests look. And the cut happens after printing, so the cut line is where motifs get chopped. Decide which edge of the artwork becomes the drop before anyone discusses colour. The film and printing process explains why the width is fixed rather than a preference.
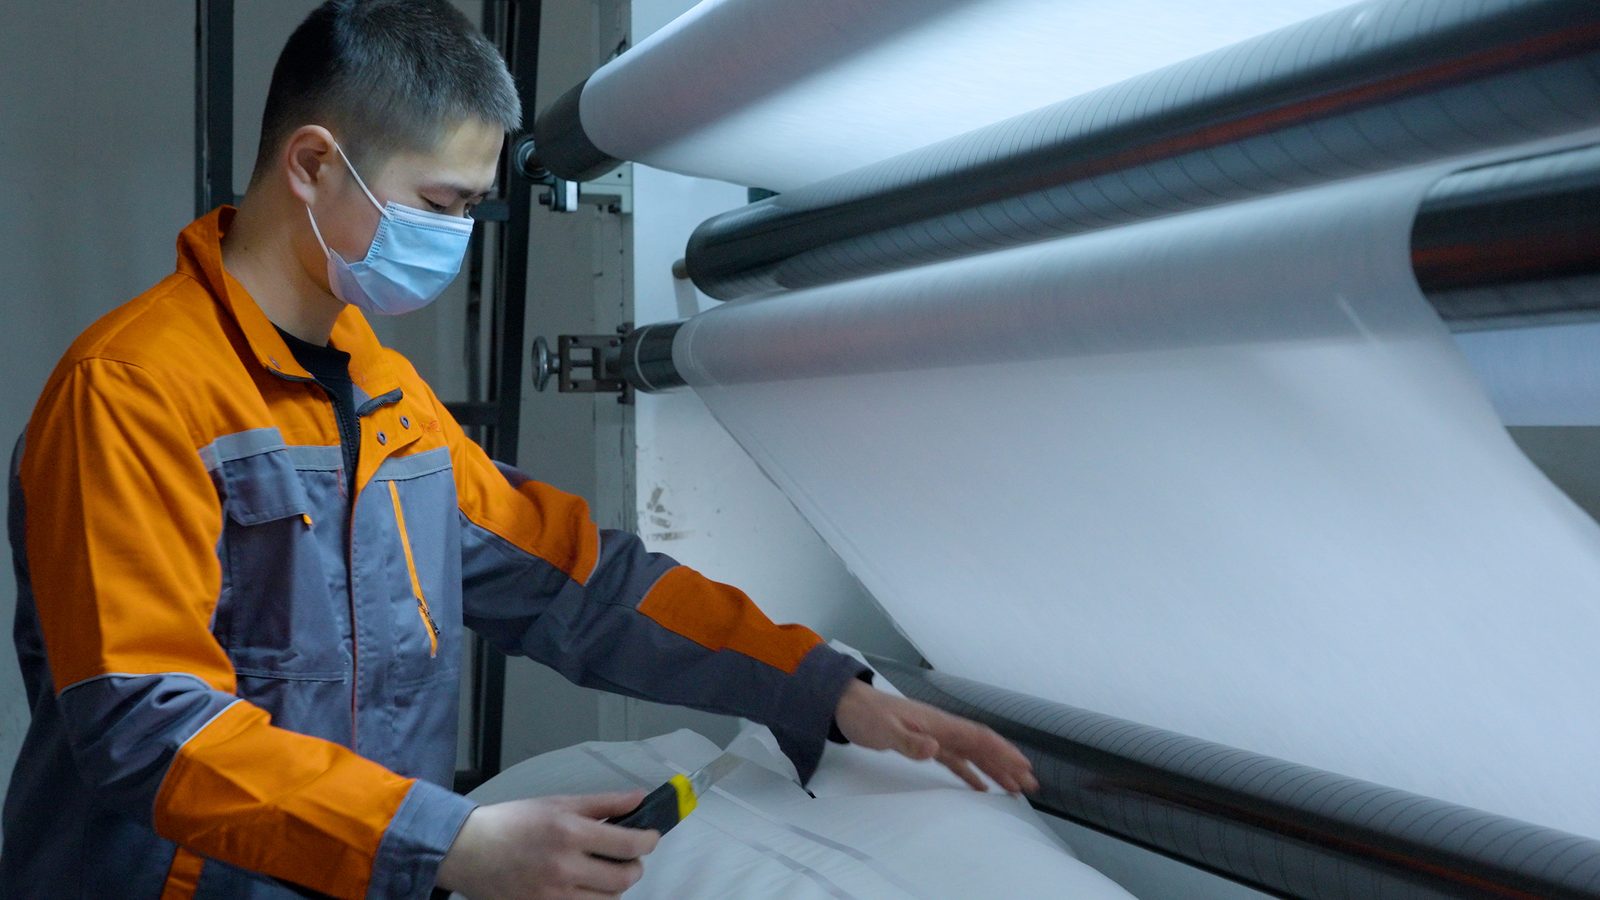
2. Allover repeats: the repeat has to divide the cut length
An allover repeat is any design that covers the whole surface at a fixed interval: dots, florals, small fruits, stars. The number that matters is the repeat length, and the test is arithmetic. If it divides 108 inches evenly, every cover starts and ends at the same point in the pattern, so covers cut from one roll look identical and can be laid end to end with continuity. If it does not divide, each cover starts at a different phase: one ends mid-motif, the next begins mid-motif, and a long banquet run looks assembled from leftovers. The same applies across the 54 inch width, where the motif has to tile to the edge rather than leave a blank strip that only shows when two covers meet.
Pattern scale then decides what a small error costs. A tight checkerboard or fine stripe is the least forgiving layout we print: a few millimetres of register drift reads as a stepped line down the table. A loose scattered print absorbs the same drift unnoticed. Small repeats also hide creases, because the eye has no long straight line to break.


3. Straight repeat or half-drop: choose before the artwork is drawn
A straight repeat stacks the motif directly above itself in every row. A half-drop offsets every other row by half the repeat length, breaking the grid and hiding the seam where two covers meet. Half-drop suits borders of small motifs and anything that would otherwise read as a visible lattice along a long table. The catch is that a half-drop tile is a two-row block, not a single motif, so the file must be built that way from the start; converting later usually changes the repeat length, which changes how it divides 108 inches.
4. Border prints: the border has to survive the drop
Borders are drawn flat and judged flat, but a tablecloth is not flat. The line that sits 2 inches from the edge on screen ends up wherever the drop falls once the cloth is on the table: roughly 18 inches at the ends and 12 inches at the sides on a six foot table. Three rules keep border prints out of trouble. Say whether the border runs on the long edges, the short edges or all four, because four edges means printing across the full 54 inch width with register held at both sides. Fix border width as a number in the spec rather than a percentage. And check the corner, where the cloth folds and any continuous line breaks.
5. Panels and logos: put the mark where the plates are not
A centred panel or logo is the most common request and the most frequently wasted one, because plates, bowls and centrepieces land in the middle of the table and cover it for the whole event. If the brand has to be seen, it belongs in a corner, in a repeated small mark along the drop band, or in a side band where nobody sets a plate. Panel layouts also carry tighter tolerances than repeats, since one frame has to sit square inside the 54 inch width. Ask for the centre line marked on the strike-off, not only a colour proof.


6. White is film, not ink, and dark designs show every crease
In a print on white film, the white areas are simply unprinted film, so high-white designs read crisp on a folded cover. White ink on clear film is a different construction: it needs an opaque white base under the colour, and should be specified as such rather than assumed. Dark full-bleed designs behave the other way, using the heaviest ink coverage in the range and recording every crease, scuff and fold line between the packing table and the event. If a brand insists on a dark ground, the practical mitigations are a matte finish, a heavier gauge, and loose motifs breaking up the field.
Print side matters for compliance as well as looks. Food contact happens on the inside face, so the printed face stays out, and the ink system has to be declared in writing: colourants under 21 CFR 178.3297 for the US market, and a plastic food contact declaration under EU 10/2011 for Europe.
7. Gauge and register: 0.03 mm and 0.05 mm print differently
We print the same artwork on two gauges: 0.03 mm, about 87 g on a 54 x 108 inch cover, and 0.05 mm, about 150 g. The thinner film drapes better and uses less material, but stretches more under web tension, so a tight geometric repeat can drift over a long run. The heavier film holds register better and reads more opaque, but folds stiffer and packs heavier. A workable rule is to match gauge to print: checkerboards, stripes and small dot grids on the heavier gauge, loose florals and scattered motifs on either. Corona treatment before printing is what makes the ink bond to PEVA at all, so a rub test on the strike-off tells you more than a colour chart. Colour approval itself should run against a master sample under a stated light source with a measured colour difference (ASTM D2244), the same discipline used for specifying a tablecloth shade.
8. What to send with the artwork
A single brief with these ten items removes most of the back-and-forth before plates are cut:
- Vector artwork with fonts outlined, plus a flattened proof.
- Named spot colours (Pantone), not CMYK screen renderings.
- Repeat tile, repeat length, and repeat type: straight or half-drop.
- Finished cover size, and which edge becomes the drop.
- Border width as a number, and which of the four edges carry it.
- Print side: outside face only, food-contact face unprinted.
- Film gauge, and whether the design must run on both gauges.
- Whether adjacent covers must tile across a seam on banquet runs.
- Master sample reference, tolerance and judging light source.
- A strike-off of one full repeat on production film, approved before the run.
| Layout | What repeats | Best for | Watch out for |
|---|---|---|---|
| Allover straight repeat | Motif at a fixed interval | Dots, florals, small fruits | Repeat must divide 108 in and tile across 54 in |
| Half-drop repeat | Alternate rows offset by half | Small motifs that read as a lattice | Tile is a two-row block; costly to change late |
| Border print | Band along one or more edges | Formal banquets, brand borders | Must sit inside the drop, not on the tabletop |
| Centred panel or logo | One fixed frame | Brand moments, programmes | Centre is covered by plates; tolerances are tight |
Runxiang has been extruding PEVA film and printing tablecloths in Changzhou for over twenty years, with extrusion, corona treatment, rotary printing and converting under one roof, so layout questions are answered by the people who set the plates. If you are building a printed range, start from the printed plastic tablecloth range, compare it with the solid colour covers and tablecloth rolls, and send your artwork for a strike-off. For plate costs and proofs read plate fees and artwork approval, for gauges the thickness guide, and for the wider OEM process our OEM and ODM service. Quotes are built line by line, as set out in how we quote.